
At the top of all the screens in Map Suite GPS Tracking Server is the Header Bar. The Header Bar contains the Company Logo, as well as the Quick toolbar with buttons that can be clicked to go to the most commonly used areas in the system. In addition to the Quick toolbar, the Header Bar also features additional links, such as a Messages link that can be clicked to access messages within the system. For security purposes, the application will check the server at fixed intervals for new messages and alerts as well as update user permissions within the system. This is done without user intervention.
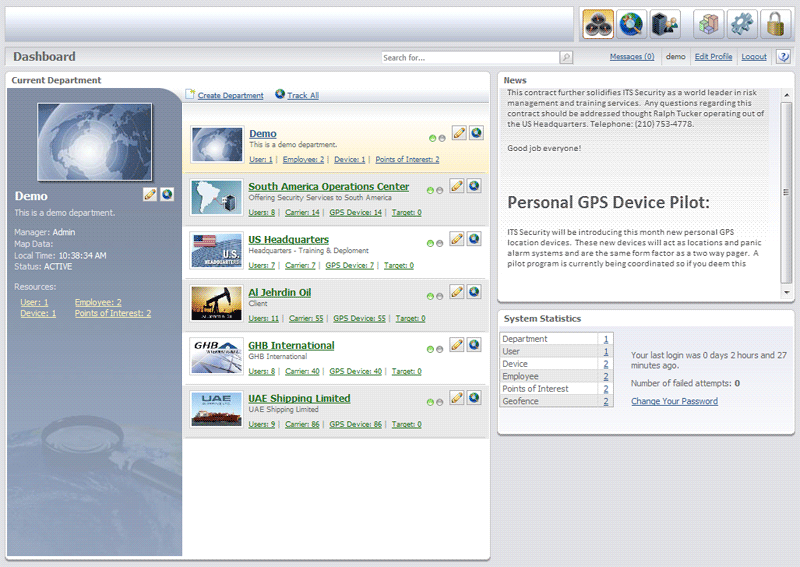
The Dashboard is the main screen in the system and the entry point for most users; however, you might want some users to enter the system through the Tracking screen, which can also be defined as an entry point to the system. The Dashboard is divided into several different sections with each section containing its own links to other screens in the system. Each account in the system is self-contained and features its own unique set of security users, groups, resources, and settings.
After the user logs on, the Dashboard screen will open in a new window. This window does not feature a toolbar and menu bar as you commonly see in a standard Windows web browser. The reason for this is to maximize the screen space and utilize as much of the screen as possible for the application. This feature really becomes apparent when you open the Tracking screen. Here, you will be able to view more of the map area and gain more information from the map as a result. Another noticeable feature of Map Suite GPS Tracking Server is the absence of a scroll bar running along the side of the browser. When it is necessary to scroll up or down on a screen, a scroll bar will be featured in the particular section of the screen that you need to scroll. By limiting the scroll bar to a particular section of the screen, data on the main screen will not be affected when you scroll.
![]()
The Tracking screen is where you will view and track Employee sessions for your Department. In Map Suite GPS Tracking Server, a Employee session is a particular Employee and Device combination which begins at midnight and ends the following midnight. When you want to track an Employee session for a Department, you will click the Track icon  for the Department, which is located in the Department section of the Dashboard. Clicking the icon will open the Tracking screen for the Department.
On the Tracking screen, you have the ability to create and add spatial fences for Employees. In Map Suite GPS Tracking Server, spatial fences are called In Geofences and Out Geofences. These In Geofences and Out Geofences are special areas that an Employee must remain in or stay out of during his or her session. If an Employee enters an Out Geofence, an alert will be raised.
The Tracking screen is loaded with many easy-to-use map controls, which reside in the following areas of the screen: Tool Panels, Zoom and Pan Controls and Overlay Switcher.
The Tool Panels bar features several buttons that can be clicked to do the following:
![]()
 locating latitude and longitude coordinates
.png) setting the map extent
setting the map extent creating mock Employee sessions
 measuring a linear distance
 measuring an area
 track zooming into an area
 panning the map
 launching Google Earth
 exporting all Employee sessions to Google Earth
 resetting the Tool Panels
The Navigation area allows you to pan in four directions on the map as well as return the map to its full extent.
![]()
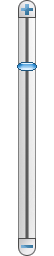
The Zoom area features a zoom bar with buttons at the top and bottom that can be clicked to zoom in or zoom out from the current map area. You can also drag the blue slider control up or down to zoom in or out.
From the Tracking screen, you can search for historic Employee sessions and view these past sessions on the map. This is accomplished by clicking the History tab on the Entity tabs toolbar  , located on the left-side of the Tracking screen, and using the Find Historical Sessions fields. In addition, you can add and locate Points of Interest on the map through the Points of Interest finder. The Points of Interest finder is accessed by clicking the Points of Interest tab on the Entity tabs toolbar
  .
.
More:
Overview of the Map Suite GPS Tracking Server Tracking System
Entities in Map Suite GPS Tracking ServerBrief Overview of User Interface